
-
- Products
- Indoor Household Cords
- Appliance Cords
- General Purpose Short-Length Cords
- General Purpose Extension Cords
- Landscape & Decorating Cords
- Bright Color Extension Cords
- Oil-Resistant Extension Cords
- Cold-Flex Extension Cords
- VividFlex Power Cords
- EXTREME All-Weather Cords
- Cord Management
- Task Lights
- Adapters & GFCI Devices
- Where to Buy
- About
- Careers
- Glossary
- Catalog


10 Recessed Electric Fireplace Buying Tips
Choosing a Recessed Electric Fireplace can transform a plain wall into a warm visual centerpiece. It can also create expensive problems when measurements, wiring, or heat output are ignored. This guide, “10 Recessed Electric Fireplace Buying Tips,” focuses on practical decisions before purchase.
“A fireplace should serve the room’s comfort and design, not compete with either,” says Jason Cameron, a home improvement expert known for residential renovation projects. That principle matters when comparing slim models, realistic flame beds, and built-in heating systems. A unit may look beautiful in a showroom, yet feel undersized above a wide media console. Another may produce strong heat but overwhelm a compact bedroom.
Measure the wall twice.
Check the cavity depth, framing space, and nearby outlets before ordering. Confirm the manufacturer’s clearance requirements, especially around televisions, shelves, curtains, and combustible materials. Heating capacity deserves equal attention. A higher wattage does not automatically mean better comfort, because insulation and room size influence performance.
Look for adjustable flame brightness, quiet operation, dependable controls, and a clear warranty. Review whether installation requires a dedicated circuit or professional electrical work. Local building requirements can differ, so qualified advice remains valuable.
Some buying advice sounds too certain. It should not. Every home has different wiring, airflow, and design limitations. Even experienced renovators can misjudge glare from glass or the fireplace’s visual scale. A careful buyer leaves room for reconsideration, compares verified specifications, and treats appearance as only one part of the decision.
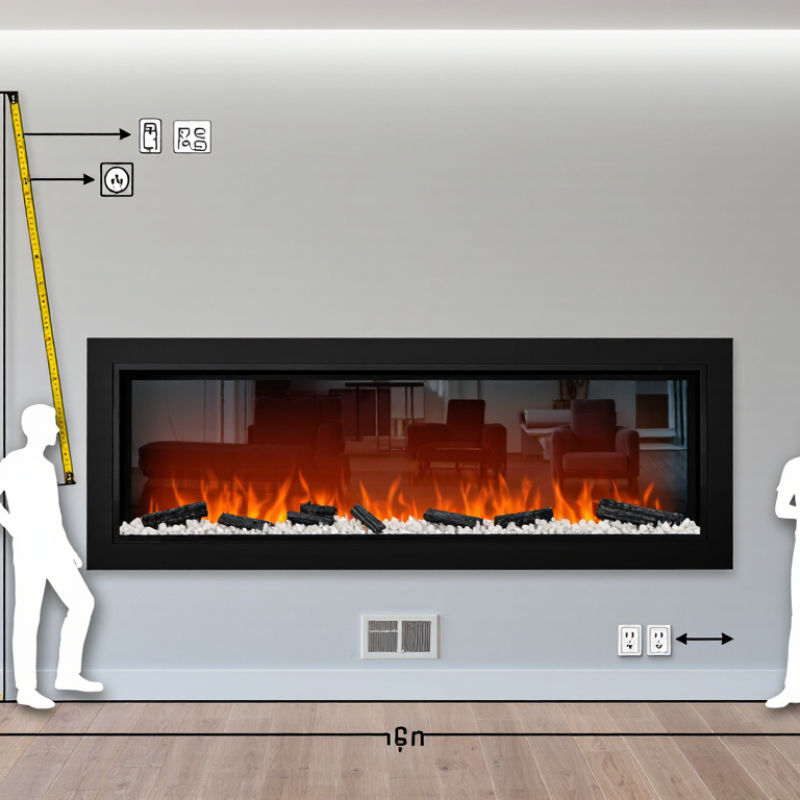
Table of Contents [Hide]
Define Heating Demand: 1,500 W ≈ 5,118 BTU/h for Zone Heating
When comparing recessed electric fireplaces, start with the heat your room actually needs. A 1,500-watt heater produces about 5,118 BTU/h. That output suits zone heating, not necessarily whole-home heating. Think of a reading corner, bedroom, or small living area. Cold windows and tall ceilings change the result. My first estimate was too optimistic. A drafty room felt cool despite steady heat. Measure the space, note insulation, and check the product’s tested coverage.
A recessed unit should be chosen for controlled comfort, not its flame display alone. Look for adjustable heat levels, a thermostat, and a timer. These controls prevent the room from becoming stuffy after the initial warm-up. Place a thermometer near seating height, not beside the heater. The reading will be more useful. A 1,500-watt setting can draw about 12.5 amps on a 120-volt circuit. Have an electrician verify the circuit, especially in older homes. Avoid sharing a heavily loaded outlet.
Installation details matter.
Follow the required cavity depth, airflow space, and clearance instructions exactly. Never cover vents with trim or fabric. Keep curtains, paper, and furniture away from hot surfaces. Hardwired installation may look cleaner, but it should match local electrical requirements. Plug-in installation can be simpler, yet the cord path must stay protected. I still prefer testing the heater for an hour before finishing the trim. Small mistakes become expensive once the wall is closed.