
-
- Products
- Indoor Household Cords
- Appliance Cords
- General Purpose Short-Length Cords
- General Purpose Extension Cords
- Landscape & Decorating Cords
- Bright Color Extension Cords
- Oil-Resistant Extension Cords
- Cold-Flex Extension Cords
- VividFlex Power Cords
- EXTREME All-Weather Cords
- Cord Management
- Task Lights
- Adapters & GFCI Devices
- Where to Buy
- About
- Careers
- Glossary
- Catalog


How to Choose the Right Car Seal Strip?
Choosing the right Car Seal Strip is not a cosmetic decision. It affects cabin noise, water resistance, door closing force, and long-term comfort. A poor profile may look acceptable in a showroom. It can still shrink, harden, or whistle after one winter.
Industry reports from Grand View Research and Fortune Business Insights show steady growth in automotive sealing demand. Their findings connect this growth with stricter comfort expectations, electric vehicles, and improved body sealing. However, market growth does not make every seal suitable. Buyers must compare rubber type, profile geometry, compression ratio, temperature range, and installation method. SAE J200 material classifications and ISO 3302-1 dimensional tolerances offer useful technical references. They are not complete answers.
Dr. John L. White, a respected rubber technology researcher, described a practical engineering principle: “Material choice cannot be separated from service conditions.” That warning fits Car Seal Strip selection precisely. EPDM often suits weather exposure, while silicone performs better in wider temperature conditions. TPE can support flexible designs, but its performance depends heavily on formulation and processing. Measure the channel first. Check the actual compression. Test the strip against dust, water, and repeated door movement.
Small details matter. A millimeter can change the closing effort. Adhesive backing can fail on oily paint. Clips can leave gaps. We should also admit one uncomfortable point: supplier data may look impressive without independent testing. Ask for test results, batch information, and installation guidance. The best choice is not always the cheapest or thickest strip. It is the one that fits the vehicle, environment, and maintenance reality.
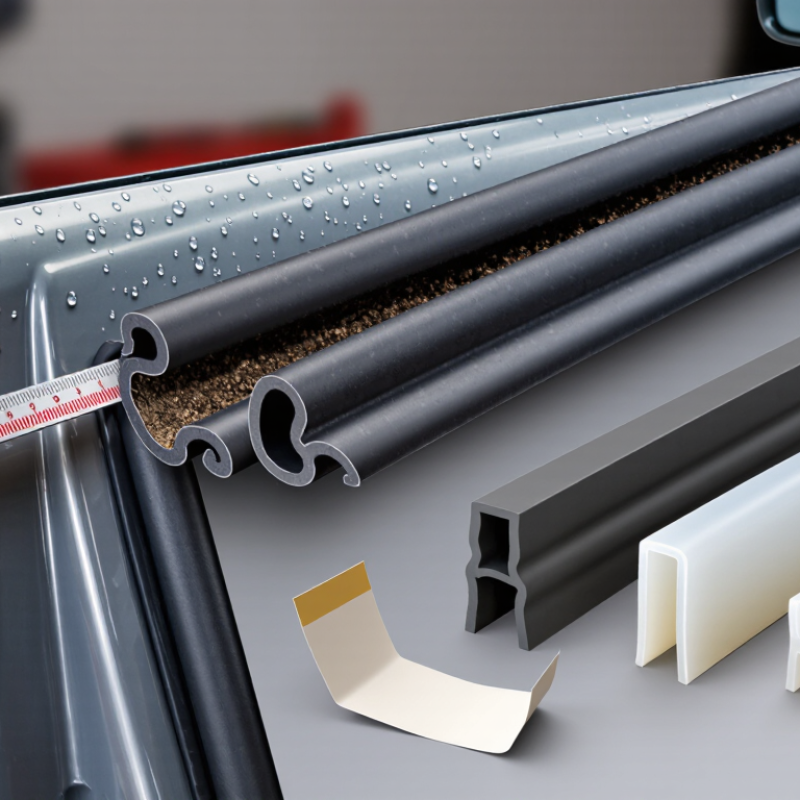
Table of Contents [Hide]
Understanding the Role and Types of Car Seal Strips
How to Choose the Right Car Seal Strip?
Understanding the Role and Types of Car Seal Strips
Car seal strips close the gaps around doors, windows, trunks, and hoods. They help block rain, dust, wind noise, and vibration. A well-fitted strip also reduces rattling on uneven roads. In practical inspections, a damaged seal often shows flattened edges, cracks, or water marks on the interior trim.
Common types include door frame seals, glass run channels, trunk seals, and hood seals. EPDM rubber handles changing temperatures and regular exposure to moisture. Silicone stays flexible in demanding conditions, but it may cost more. PVC can work for selected applications, although it may harden sooner in harsh weather. The profile must match the vehicle’s channel. Shape matters.
Measure carefully.
A useful check involves the original groove, compression level, and corner shape. A seal that feels too thick may prevent the door from closing smoothly. One that is too thin may allow water through. Clean the mounting surface before installation, then press the strip evenly around corners. Avoid stretching it. Stretching can create gaps later.
Small details matter. Test the door several times and spray a light stream of water over the seal. Listen for wind noise during a short drive. I have found that visual checks alone can be misleading. A strip may look secure but still leak near a sharp corner. Rechecking after installation is worth the extra time.