
-
- Products
- Indoor Household Cords
- Appliance Cords
- General Purpose Short-Length Cords
- General Purpose Extension Cords
- Landscape & Decorating Cords
- Bright Color Extension Cords
- Oil-Resistant Extension Cords
- Cold-Flex Extension Cords
- VividFlex Power Cords
- EXTREME All-Weather Cords
- Cord Management
- Task Lights
- Adapters & GFCI Devices
- Where to Buy
- About
- Careers
- Glossary
- Catalog


How to Choose the Right Adapter Ring?
Choosing the right Adapter Ring starts with a simple question: what exactly needs to connect? In photography, that may mean matching a lens filter thread to a different filter size. It could also involve fitting a lens to a camera body. These are not interchangeable tasks. Check the markings on both pieces, such as a lens’s filter diameter, and confirm the ring supports the intended connection. A small mismatch can prevent a secure fit or interfere with nearby controls. Details matter.
Material and design deserve attention, too. Aluminum rings are lightweight, while brass options may resist wear well; actual performance depends on construction and use. Check the product specifications rather than relying on appearance alone. If you use filters, consider whether the ring may cause vignetting, especially with wide-angle lenses or stacked accessories. For lens-to-camera adapters, verify mount compatibility, clearance, and any stated limits on autofocus or electronic communication. A snug fit should not require force. Stop if it binds.
A product title can sound convincing while leaving a key detail unclear. Compare the manufacturer’s compatibility list with your exact equipment model, and contact the seller when specifications conflict. Even careful buyers sometimes overlook a tiny thread marking; I have seen how that turns a quick setup into a return. There is no universal best ring. The right choice is the one that fits securely, preserves the function you need, and suits how you actually shoot.
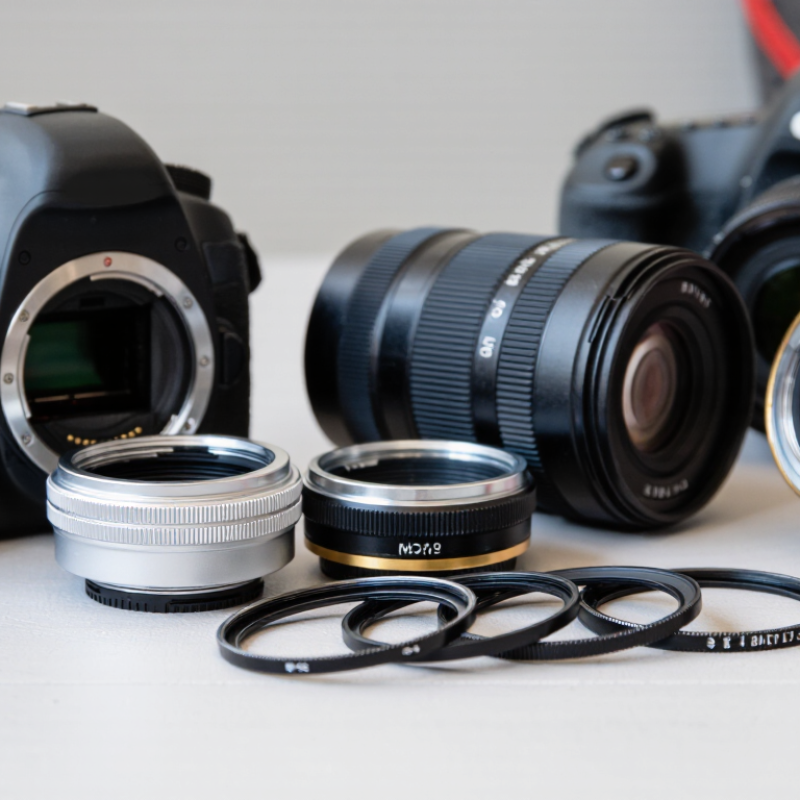
Table of Contents [Hide]
Understanding Adapter Rings and Their Purpose
How to Choose the Right Adapter Ring?
Understanding Adapter Rings and Their Purpose
An adapter ring connects accessories with different thread sizes, most commonly a camera lens and a filter. For example, a 67 mm lens can accept a 72 mm filter through a step-up ring. The ring does not change the filter’s effect; it simply provides a mechanical fit.
Small part. Big difference.
Thread sizes are usually printed on the lens front or inside its cap, marked with a diameter symbol. Match that measurement to the ring, then check the accessory’s thread size. CIPA’s 2023 camera-shipment statistics recorded about 7.7 million digital cameras shipped worldwide. That figure reflects a large, active camera market, where compatibility still matters across varied equipment. It does not, however, measure adapter-ring use.
Step-up rings are often preferred because their wider opening is less likely to block the lens’s view. A step-down ring can work, but its smaller opening may cause dark corners, especially with wide-angle lenses. Check that the threads turn smoothly; resistance can signal misalignment. It is easy to focus on the filter and overlook the ring. I would still test the setup at the widest focal length before relying on it.